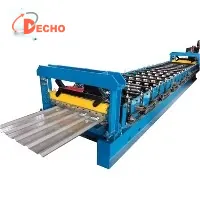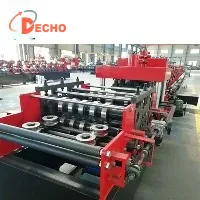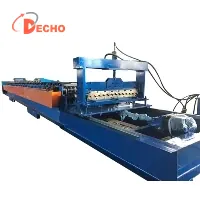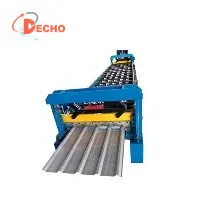

Hey there! As a supplier of Cold Roll Forming Machines, I often get asked about how to replace the rollers in these machines. It's a crucial maintenance task that can significantly impact the performance and longevity of your equipment. So, let's dive right in and go through the process step by step.
Why Replace the Rollers?
First off, you might be wondering why you'd even need to replace the rollers. Well, over time, rollers can wear out due to continuous use, friction, and exposure to various materials. When rollers start to show signs of excessive wear, it can lead to issues like uneven forming, poor quality of the final product, and even machine breakdowns. By replacing worn - out rollers, you can ensure that your cold roll forming machine continues to operate at its best.
Tools You'll Need
Before you start the roller replacement process, it's important to gather the necessary tools. Here's a list of what you'll typically need:
- Socket wrenches: Different sizes will be required to remove and install bolts.
- A hydraulic press or a suitable pulling tool: This is used to remove the old rollers from the machine.
- A clean cloth: To wipe down the roller shafts and other components.
- Lubricant: To lubricate the new rollers and the shafts before installation.
Step 1: Safety First
Safety should always be your top priority when working on any machinery. Before you start the roller replacement process, make sure to turn off the power supply to the cold roll forming machine. This will prevent any accidental startup that could cause serious injury. Also, wear appropriate safety gear such as gloves and safety glasses.
Step 2: Identify the Rollers to be Replaced
Inspect the rollers carefully to determine which ones need to be replaced. Look for signs of wear such as grooves, cracks, or uneven surfaces. You can also measure the diameter of the rollers to see if they have deviated from the original specifications. Make a note of the location and type of each roller that needs to be replaced.
Step 3: Remove the Old Rollers
Once you've identified the rollers to be replaced, it's time to remove them from the machine. Use the socket wrenches to remove the bolts that hold the roller brackets in place. Be careful not to lose any of the bolts or washers. After removing the bolts, use a hydraulic press or a pulling tool to gently remove the old rollers from the shafts. If you're using a pulling tool, make sure to apply even pressure to avoid damaging the shafts.
Step 4: Clean the Shafts
After removing the old rollers, use a clean cloth to wipe down the roller shafts. Remove any dirt, debris, or old lubricant from the shafts. This will ensure a smooth installation of the new rollers and prevent any contaminants from causing premature wear.
Step 5: Install the New Rollers
Before installing the new rollers, apply a thin layer of lubricant to the roller shafts. This will make it easier to slide the new rollers onto the shafts and reduce friction during operation. Carefully place the new rollers onto the shafts and align them properly. Make sure the rollers are seated correctly and that there is no misalignment.
Step 6: Re - install the Roller Brackets
Once the new rollers are in place, re - install the roller brackets using the bolts you removed earlier. Tighten the bolts securely, but be careful not to overtighten them as this could damage the brackets or the rollers.
Step 7: Test the Machine
After replacing the rollers, it's important to test the cold roll forming machine to make sure everything is working properly. Turn on the power supply and run the machine at a low speed for a few minutes. Observe the operation of the machine and check for any abnormal noises or vibrations. If you notice any issues, stop the machine immediately and double - check the roller installation.
Other Related Machines
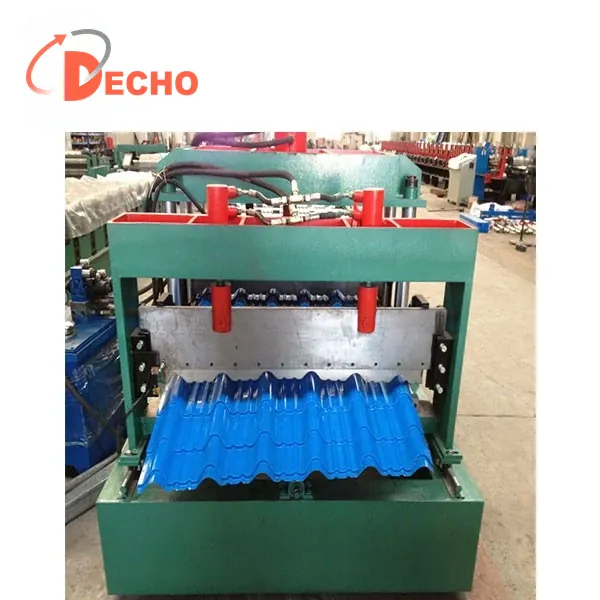
If you're in the market for other types of roll - forming machines, we also offer some great options. For instance, our Glazed Tile Making Machine is perfect for producing high - quality glazed tiles. It's designed with advanced technology to ensure precise forming and excellent durability.
Another great option is our Barrel Corrugation Machine. This machine is ideal for creating barrel - shaped corrugated sheets, which are commonly used in roofing and wall applications.
And if you're looking for a versatile machine, our Metal Siding Roll Forming Machine is a great choice. It allows for quick changeovers between different profiles, making it suitable for a wide range of projects.
Conclusion
Replacing the rollers in a cold roll forming machine is a task that requires careful attention to detail, but it's definitely doable with the right tools and knowledge. By following the steps outlined in this blog, you can ensure that your machine continues to produce high - quality products. If you have any questions or need further assistance with roller replacement or any other aspect of our cold roll forming machines, don't hesitate to get in touch with us. We're here to help you make the most of your investment. Whether you're a small business or a large industrial operation, we have the expertise and the products to meet your needs. So, if you're interested in purchasing a new cold roll forming machine or need to replace parts for your existing one, let's start a conversation and see how we can work together.
References
- "Roll Forming Handbook" by The Roll Forming Association
- Manufacturer's manual for Cold Roll Forming Machines